How to Plan an Indoor Garden, Room by Room
A seven-step planning walk-through: list candidate spots, note the light, check practical limits, measure, work out how many containers fit, and only then shortlist plants for each spot.
At a glance
What you need
- Notebook or clipboard
- Pencil
- Tape measure
- Plant labels or a reliable plant reference
The usual way to begin is to buy plants and then look for somewhere to put them. Learning how to plan an indoor garden means working the other way round: you study the home first, and the plants come last.
The plan itself is nothing elaborate. It is a sheet of paper listing a few spots, what the light does at each one, how much room there is and what could go wrong there. Most beginner losses come from a plant sitting in a place that never suited it, and a plan on paper catches that before any money is spent.
What you need before you start
Gather a notebook or clipboard, a pencil and a tape measure, and choose a clear day when you will be home from morning to late afternoon. Nothing else is required.
Step 1: Walk the home and list candidate spots
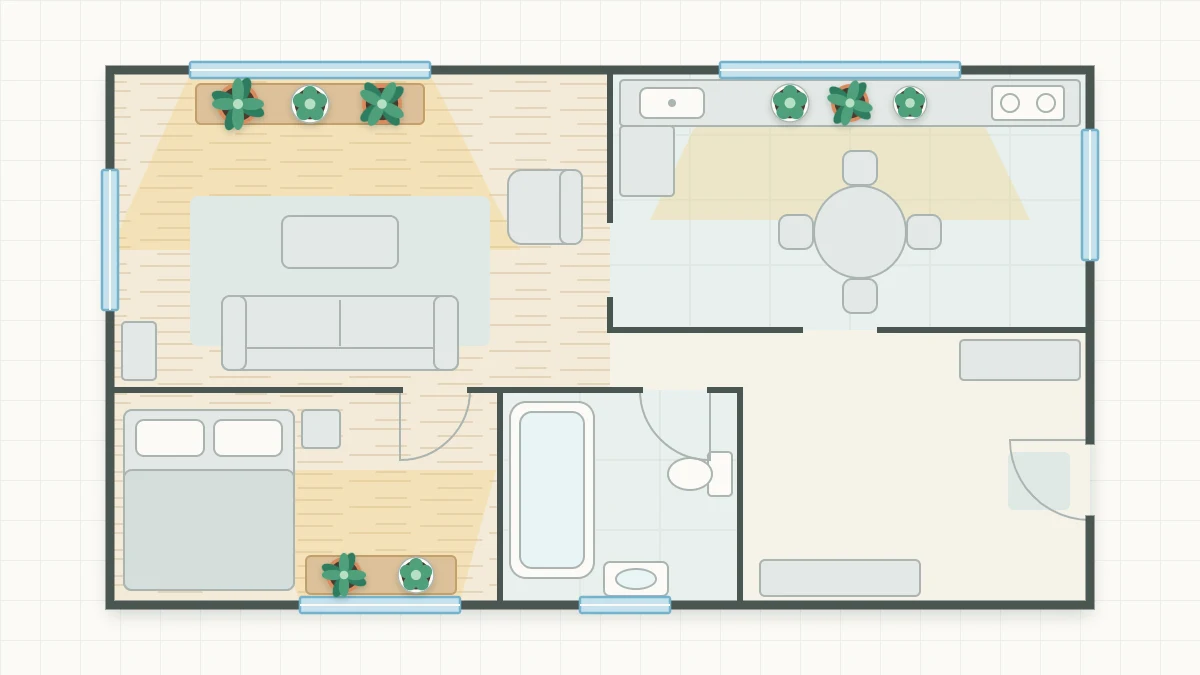
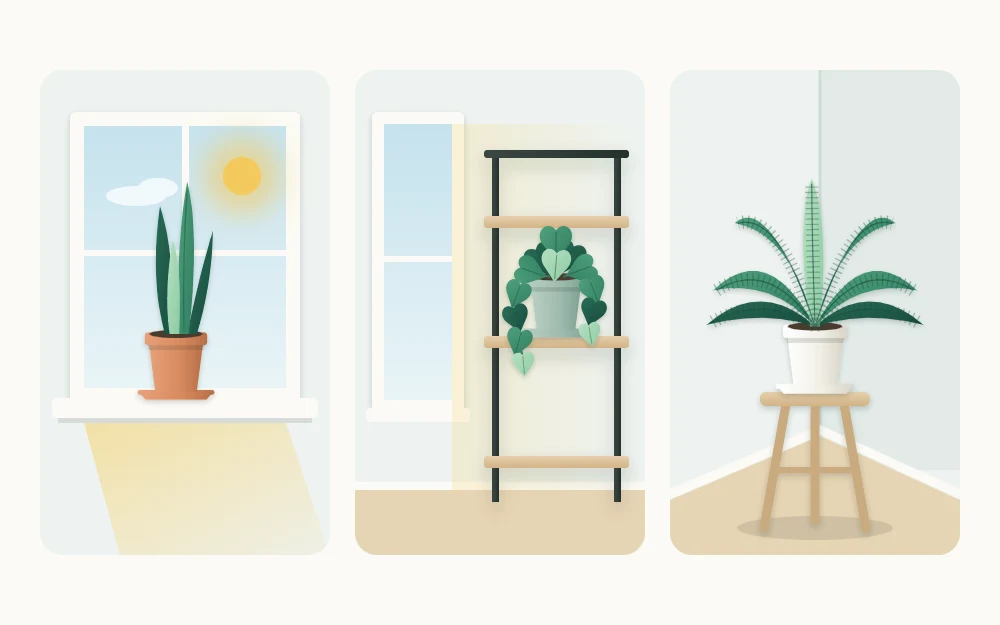
Go through every room and write down each place that could hold plants: windowsills, the floor or a table beside a window, a shelf unit near the glass, a bright corner, a counter end. Do not judge them yet. Include spots that seem unlikely, because the survey sometimes shows that a hallway window is better than the living room one.
If you are unsure what makes one room a better candidate than another, the guide on where to put an indoor garden compares typical household locations.
Step 2: Note the light at each spot
Light is the first filter, because it is the condition you can change least. Visit each spot in the morning, around midday and in the afternoon. Write down whether sunbeams land there, roughly for how much of the day, and how bright it seems when they do not.
Light also changes through the year and with distance from the glass, so treat one day’s notes as a first reading. The method is set out step by step in the guide on how to assess natural light in your home.
Step 3: Check the practical limits
A bright spot can still be a poor growing area. For each candidate, check the following.
- Floor and furniture protection. Is there room for saucers or a tray? Would a spill reach wood, carpet or electronics?
- Heat sources and drafts. Note radiators, heating and cooling vents, and doors that open to the outside. Moving hot or cold air dries and stresses many plants.
- Access for watering. Can you reach every pot with a watering can, or carry pots to a sink without an obstacle course?
- Weight on shelves. Pots are heavy once the potting mix is wet.
- People and pets passing by. A narrow walkway, a swinging door or a favorite cat perch is a place where pots get knocked over.
Good to know
Before you plan pots for any shelf, bracket or stand, look up the product’s stated load rating and its fixing instructions for your wall type. Count the weight of the pots when freshly watered, not dry.
Cross out any spot that fails here unless the problem is easy to fix, for example by adding a tray or shifting a stand away from a vent.
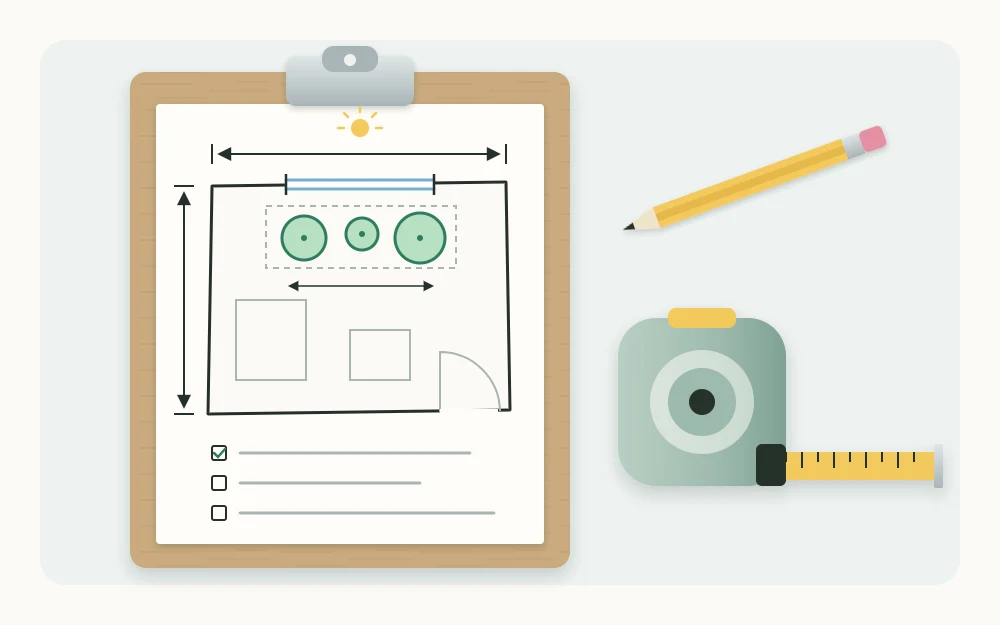
Step 4: Sketch each spot with rough measurements
For the spots that remain, a quick drawing saves guesswork in the store.
- Draw the surface from above as a simple rectangle and mark where the window is.
- Measure the usable length and depth and write them on the sketch.
- Measure the clear height above the surface, up to a shelf, a blind or the window handle.
- Mark anything that must stay clear, such as a window that opens inward or a curtain that closes at night.
Rough figures are enough. The point is to know whether a growing area holds three small pots or one large one.
Step 5: Decide how many containers fit
Using the sketch, work out how many pots of what size the spot can take, including their saucers, which are wider than the pot base. Leave gaps between pots so leaves are not pressed together and you can lift each one out. Leave headroom too, since a plant bought at one height will not stay there.
It helps to draw circles on the sketch at roughly the right scale. If the circles only fit when they touch, the spot holds fewer pots than you hoped. Pot size, shape and material are covered in the guide to choosing indoor plant containers.
Now collect everything in one table. The rows below are an example of how it might look, not a recommendation.
| Spot | Light | Space | Notes |
|---|---|---|---|
| Living room windowsill | Direct sun from midday into the afternoon | 36 in (91 cm) long, 6 in (15 cm) deep | Radiator below; window must open |
| Shelf unit beside bedroom window | Bright, no sunbeams; dimmer on lower levels | Three levels, 12 in (30 cm) between them | Check the load rating; add trays |
| Hallway corner | Dim all day | Floor space for one stand | Narrow walkway; would need a grow light |
Step 6: Shortlist plants that match each spot
Only now do plants enter the plan. For each spot, look for plants whose light needs match what you recorded and whose mature size suits the space you measured. Read labels, note the botanical name and confirm the details in a reliable source. The University of Maryland Extension’s page on selecting indoor plants is useful further reading for this step.
Plants that share a growing area should want similar conditions, so that one position and one checking routine suit them all. The guide on grouping indoor plants by light and water needs explains how to sort them.
Write the shortlist beside each row and take the table with you when you shop.
Step 7: Start with one area and add later
Pick the single best spot from your table, usually the one with the most reliable light and the easiest access, and set up that one first: tray, containers, then plants. Leave the other rows on paper for now.
Running one growing area for a couple of months shows you things no plan can, such as how fast pots dry in that room and how the light shifts as the season turns. Update your notes as you learn. When the first area is steady, the next row in the table is ready and waiting, and you will set it up with better information than you had the first time.
Frequently asked questions
Do I really need a written plan for a few houseplants?
For two or three pots, a mental note may be enough. A written plan earns its keep once you want a real growing area, because it records light, measurements and practical limits in one place. It also gives you something to consult in the store, where it is easy to buy a plant with no suitable spot.
What should I decide first, the plants or the location?
The location. Light at a given spot is hard to change, while the choice of plants is wide. Once you know how bright a spot is, how much room it has and what its drawbacks are, you can shortlist plants that match it instead of hoping a plant will adapt.
How many growing areas should I set up at once?
One is a sound starting point. Running a single area for a couple of months shows how fast pots dry in your home and how the light shifts with the season. That experience makes the second and third areas easier to set up, and it limits early losses to a small group.