Indoor Gardening for Beginners: How to Start a Garden Inside
An orientation for new indoor gardeners: what an indoor garden is, why the space comes before the plants, and a small first project built around one growing area and three to five plants.
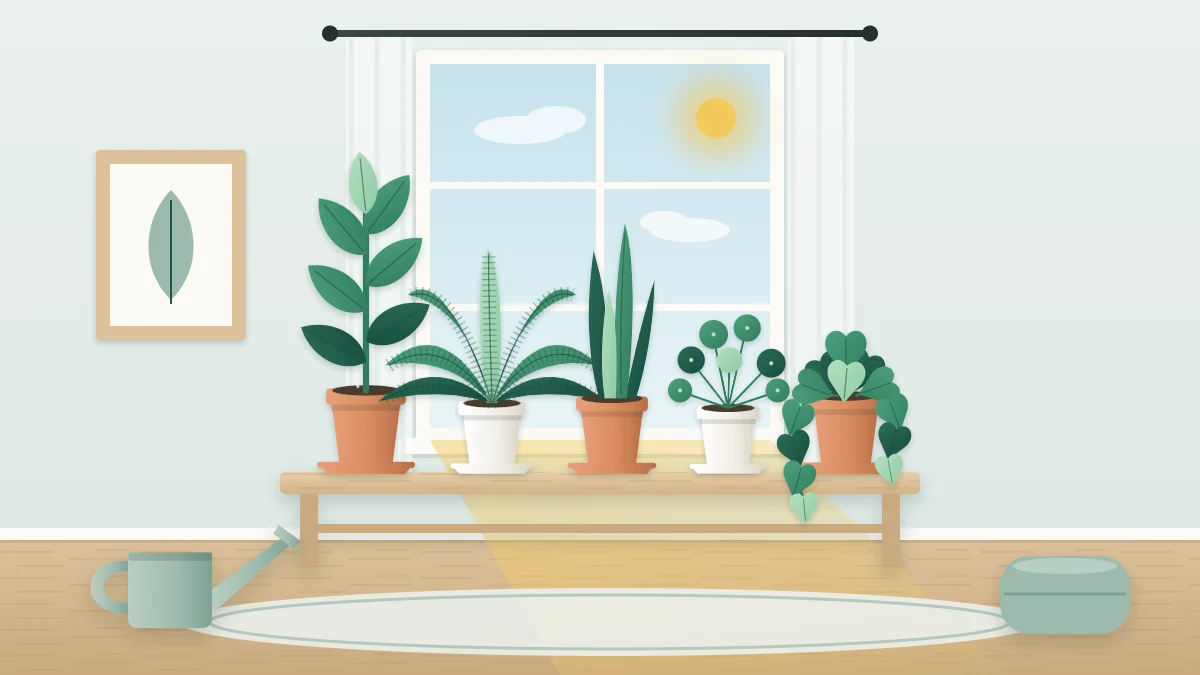
Most people start with a plant, not a plan. A pot comes home from the store, goes wherever there is a gap, and a few more follow until the home holds a scatter of plants that all want something different. Indoor gardening for beginners gets much easier when you turn that order around.
An indoor garden is a planned growing area inside your home: a place with usable light, containers that drain, a suitable potting medium, a way to water without damaging the room, and plants chosen to fit all of that. This guide explains each piece briefly, suggests a sensible first project and points you to the detailed guides when you are ready for them.
What an indoor garden actually is
The word garden matters here. A garden is a place you set up and look after as a whole, not a collection of separate objects. Indoors, that place might be a windowsill, a table beside a window, a shelf unit or a bench under a bright window. Each such spot is a growing area, and all your growing areas together make up the indoor garden.
Why the space comes first and the plants second
A plant cannot adapt to a spot that does not suit it. You can change the watering, the pot and the potting mix, but the light arriving at a given place in your home is largely set by the window, its direction, the season and whatever stands outside it. Light is the one thing you cannot pour from a watering can.
So the order that works is: find the place, learn what it offers, then choose plants whose needs match. Buying first and placing later is one of the most common reasons a new indoor garden struggles, and it is easy to avoid. The full walk-through is in the guide on how to plan an indoor garden room by room.
The five parts of a growing area
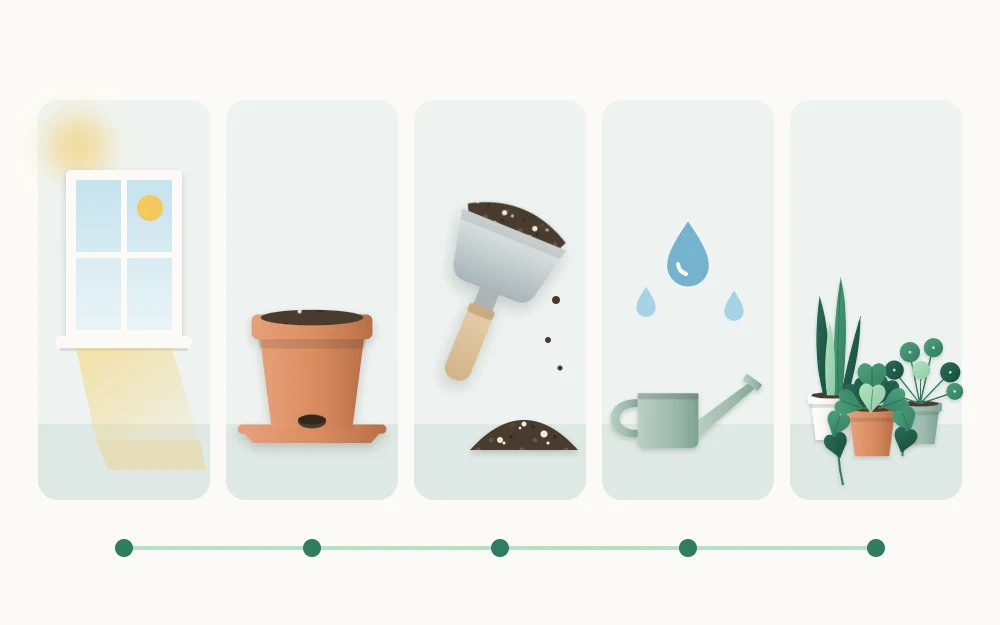
Every growing area, however small, rests on the same five things.
- Usable light. Enough daylight for the plants you intend to keep there. How bright a spot is depends on the window’s size and direction, the distance from the glass, the season and anything that blocks the view of the sky.
- Containers that drain. Pots with drainage holes let excess water leave, so roots are not left sitting in it.
- A suitable potting medium. A bagged indoor potting mix rather than soil from outdoors. It is made to hold both water and air inside a container.
- A way to water without damage. A saucer under each pot or one tray under the group, so floors and furniture stay dry.
- Plants that fit. A small group with similar light and water needs, sized for the space with room to grow.
A sensible first project
Start with one growing area and keep it small.
- Pick one spot near a window. A windowsill, a table by a window or a shelf beside one. Choose somewhere you pass every day, because plants you see are plants you check.
- Find out what the light is like there. Look at the spot at different times on a clear day. The guide on how to assess the natural light in your home describes a simple survey that needs no instruments.
- Protect the surface. Put down a tray, or a saucer for each pot, before any plant arrives.
- Choose three to five plants with similar needs. Read the labels, look each plant up in a reliable source and pick ones that suit the light you found. When the needs are similar, one routine covers the whole group.
- Keep them in pots that drain. The plain plastic nursery pot a plant is sold in usually has holes and is often fine for the first months.
- Look before you water. This habit matters enough to have its own section below.
Looking before watering
New growers often water by the calendar, and it is the habit most worth replacing. How fast a pot dries depends on the plant, the pot’s size and material, the potting mix, the light, the room temperature and the season, so two pots standing side by side can be days apart.
Instead, check. Push a finger into the mix and feel below the surface, or lift a small pot to judge its weight. For many common indoor plants, the top inch (2.5 cm) of mix feeling dry is a reasonable starting point, though the right depth varies with pot size and plant type. When a pot is due, water it thoroughly until some runs out of the drainage holes, then empty the saucer a little later. The routine for a whole group of pots is covered in the guide to watering an indoor garden.
Tip
Pick a regular day to walk round and feel the mix in every pot. Checking on a set day is useful. Giving every pot water on a set day is not, because only the pots that have dried enough should get any.
What to expect in the first weeks
A plant that has traveled from a greenhouse to a store to your home has changed conditions several times. It is normal for it to pause, drop a few older leaves or look unchanged for a while. Resist the urge to respond with more water, fertilizer or a new pot. Steady conditions and time usually do more.
Use these weeks to learn the spot: how quickly each pot dries and where the sunbeams land. Turn the pots now and then, and look under leaves during your checks.
New growth is the clearest sign that a plant has settled. Stems stretching toward the window with long gaps between leaves suggest too little light; leaves that fade or turn crisp on the window side suggest more direct sun than the plant likes. Both are prompts to shift a pot, not emergencies.
Fertilizer can wait. If you use it later, do so during active growth, according to the product label.
Where to go next
Expect to lose a plant or two along the way. It happens to almost everyone, and it usually traces back to a mismatch between plant and place, not to a lack of skill. The guide to common indoor gardening mistakes lists the usual causes and how to sidestep them.
Once your first growing area has been steady through a change of season, add a second one in the same order: the space, the light, the containers and the tray, and only then the plants.
Frequently asked questions
How many plants should a beginner start with?
Three to five plants in one growing area is a manageable start. That is enough to look like a garden and few enough that you notice how each one responds. Choose plants with similar light and water needs so a single checking routine covers the whole group, and add more only once the first group is steady.
Do I need a grow light to start an indoor garden?
Not necessarily. Many homes have at least one window that supports a small group of plants chosen to suit it. Survey the daylight at your intended spot first. If no spot gets usable light, a grow light can supply it, used as supplied and according to the fixture manufacturer's instructions.
Should I repot a new plant as soon as I bring it home?
Usually there is no rush. A new plant has already been through several changes of conditions, and the plain nursery pot it came in normally has drainage holes. Letting it settle in your growing area for a while first is often kinder than adding the disturbance of repotting on the first day.