How to Clean an Indoor Growing Area
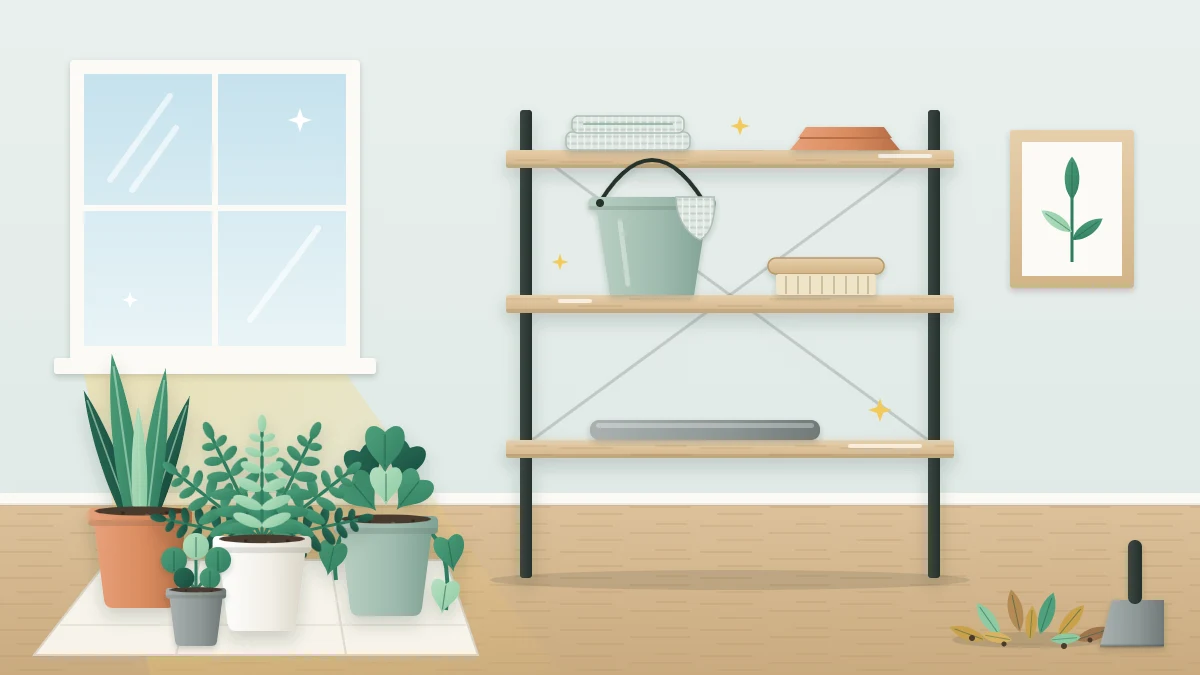
A step-by-step cleaning session for a plant shelf, sill or corner: clearing debris, wiping surfaces and trays, dusting leaves, cleaning the glass and checking for damp before everything goes back.
At a glance
What you need
- Old sheet or towel
- Two soft cloths
- Bucket of warm water
- Mild detergent
- Soft brush
- Scrubbing brush
- Waste bag
Plant corners get grubby quietly. Dust settles on leaves and shelves, water leaves pale rings on the windowsill, fallen leaves collect behind the pots and a gray crust creeps up the terracotta. None of it is urgent, which is exactly why it builds up.
Cleaning an indoor growing area is a different job from looking after the plants. It deals with the space itself: the surfaces, the trays, the glass and the pots. Done a few times a year, it brings back light, removes clutter where problems hide and shows you leaks before they mark the floor.
Why the space needs cleaning, not just the plants
- Light. Dust on leaves and grime on window glass both stand between the plant and the light it uses. Indoors, where light is already limited, that loss matters.
- Fewer hiding places. Dead leaves, spilled potting mix and crowded pots give pests somewhere to shelter and make it harder to see what is going on.
- Catching leaks early. Lifting every pot is the only way to find the damp ring under a saucer or the stain on the wall behind a shelf.
What to gather first
You need very little: an old sheet or towel, two soft cloths, a bucket or sink of warm water, a little mild detergent, a soft brush, a stiffer scrubbing brush and a bag for waste. If your everyday kit is scattered around the home, the guide to indoor gardening supplies and how to store them suggests a way to keep it together.
Pick a time when the pots are on the dry side. They are lighter to carry and less likely to drip on the way.
Clean the growing area step by step
- Move the pots to a protected surface. Spread the sheet on the floor or a table and set the pots on it in the order they stood, so putting them back is easy. Lift heavy pots from the base, not by the rim or the stem.
- Clear the debris. Pick up fallen leaves and brush or vacuum spilled mix from shelves, sills and the floor. Remove dead leaves from the pots while they are at a comfortable height.
- Wipe shelves, sills and trays. Use a damp cloth, wrung out well, and let every surface dry fully before anything goes back. Wood in particular should not be left wet.
- Wash saucers and trays. Wash them in warm water with a little mild detergent, rinse and dry. Scrub the corners of long trays, where residue collects.
- Brush the terracotta. The pale crust on the outside of unglazed clay is mostly mineral residue left as water evaporates through the pot wall. Brush it off dry with the stiffer brush, then wipe with a damp cloth.
- Wipe the leaves. Use a soft damp cloth and plain water only. Support each leaf from below with your free hand and wipe from the stem toward the tip.
- Clean the window glass inside. Dirty glass cuts the light reaching the plants, so this step earns its place. Clean the pane with a damp cloth, then dry it, keeping any cleaner off the leaves and the potting mix.
- Check the floor and the wall behind. Look for damp marks, lifted finish, dark patches or mold. If you find any, work out which pot or tray is responsible before you put it back.
- Put everything back with more space. Return the pots with a little more room between them than before, so air can move and you can see and reach each one.
Good to know
If the growing area has grow lights, a timer or any other plug-in equipment, keep fixtures and connections away from water and follow the fixture manufacturer’s instructions for cleaning.
Cleaning leaves without harming them
Broad, smooth leaves are the easy ones. Rinse the cloth often so you lift the dust off instead of spreading it, and wipe the upper surface with gentle pressure. While you have the leaf in your hand, look underneath it too.
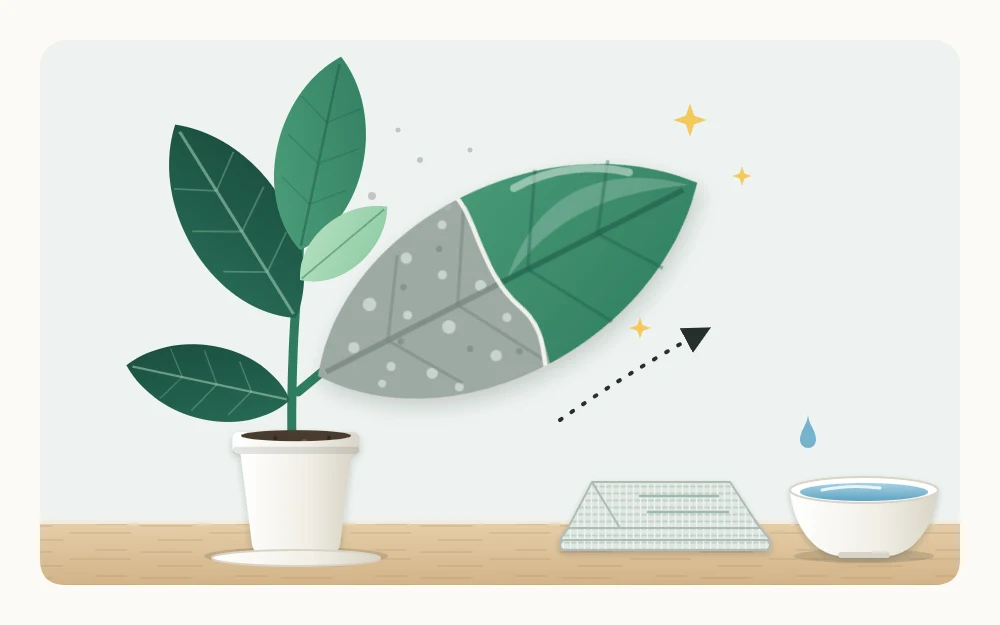
Not every leaf suits a damp cloth. Fuzzy or hairy leaves are usually better dusted with a soft dry brush, and plants with many small leaves can often be rinsed gently in the sink or shower with lukewarm water, then left to drain. What a plant tolerates varies, so if you are unsure, try one leaf first.
Skip leaf-shine products. Clean leaves have their own natural finish, and a coating adds nothing the plant needs.
Washing empty pots before reuse
A cleaning session is a good moment to deal with the stack of empty pots. Old mix and residue cling to the inside, and a pot that goes back into use should start clean.
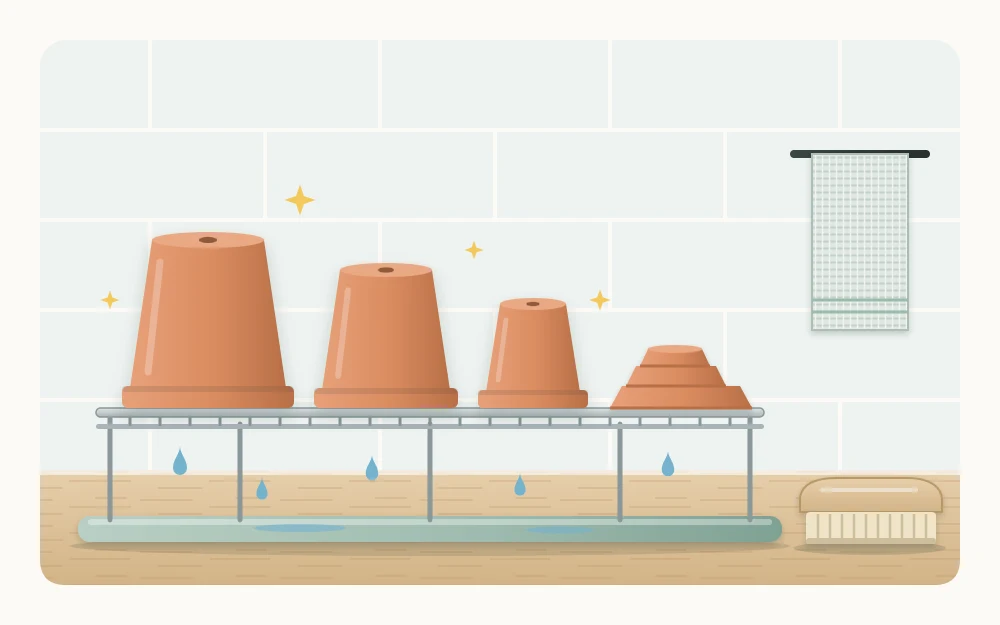
Knock out any loose mix, then scrub the pot inside and out with warm water and a brush. Pay attention to the rim and the drainage holes, which should be fully open. Let the pots dry completely, upside down on a rack or a towel, before stacking them. Terracotta holds water in its walls and takes noticeably longer to dry than plastic.
Dealing with what you find
The checks in step eight are where a cleaning session pays for itself.
- A damp ring under a saucer. The saucer may be too small, cracked or made of unglazed clay, which lets moisture through. Replace it or stand it on something waterproof.
- Water marks on a sill or shelf. These usually mean overflow at watering time. A deeper tray, or watering over the sink, often solves it.
- A stain on the wall or floor. Dry the area and keep the spot empty until you know the cause.
The options for catching runoff properly are covered in the guide to drainage for indoor pots.
How often to do it
There is no fixed interval. A growing area beside a busy street or an often-opened window collects dust faster than one in a quiet room, and a crowded shelf drops more debris than a sparse one. Many people find a full session every few months is enough, with a quick wipe of trays and leaves in between.
Tip
Fold the light upkeep into your regular checks so the big session stays small. The indoor garden maintenance checklist shows where dusting and wiping fit.
Frequently asked questions
What should I use to clean plant leaves?
A soft cloth dampened with plain water is enough for smooth, broad leaves. Support each leaf from below and wipe gently toward the tip. Fuzzy leaves are usually better dusted with a soft dry brush. Leaf-shine products are not needed; a clean leaf has its own natural finish.
How do I remove the white crust from terracotta pots?
The crust is mostly mineral residue left behind as water evaporates through the clay. On a pot that is in use, brush it off dry with a stiff brush and wipe with a damp cloth. On an empty pot, scrub with warm water and a brush, then let it dry completely.
How often should a plant shelf be cleaned?
It depends on how dusty the room is and how crowded the shelf has become. Many people find a full session every few months works, with a quick wipe of trays and leaves between sessions. If you see water marks, debris or dull leaves, that is the signal.