Repotting Indoor Plants Without the Mess
How to repot inside an apartment without a bench: the signs a plant needs it, a contained workspace, the steps in order, cleanup and aftercare, plus topdressing for plants too heavy to lift.
At a glance
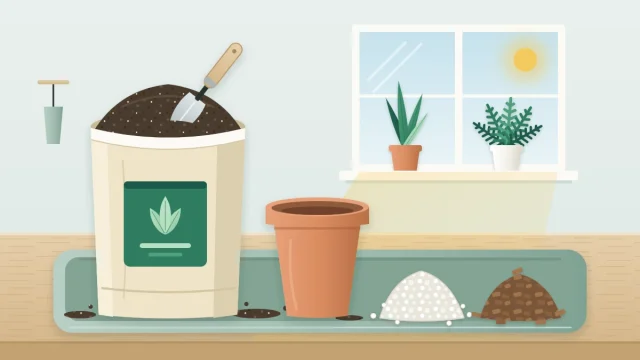
What you need
- Potting tray, shallow tub or old sheet
- Pot one size up with drainage holes
- Suitable potting mix
- Scoop or hand trowel
- Waste bag
- Watering can
- Saucer
In a garden, repotting is a five-minute job on a bench where nobody minds what lands on the ground. In an apartment the same job happens on the kitchen table or the living room floor, and the dread is less about the plant than about potting mix in the carpet.
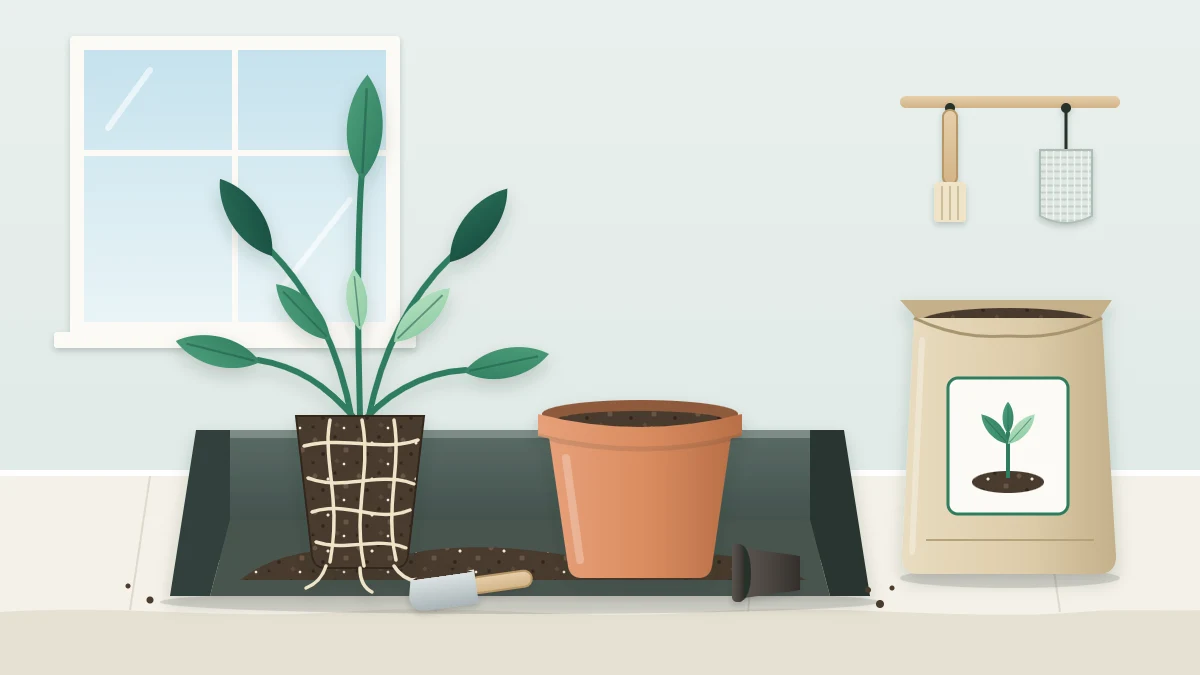
Repotting indoor plants can be a contained, tidy task if the workspace is set up before the plant leaves its pot. This guide treats it as an indoor job from start to finish: when to do it, how to build a workspace without a bench, the steps in order, and the cleanup.
When a plant needs repotting
Size alone is not the signal. Look for evidence that the roots have run out of room:
- Roots circling the inside of the pot or coming through the drainage holes.
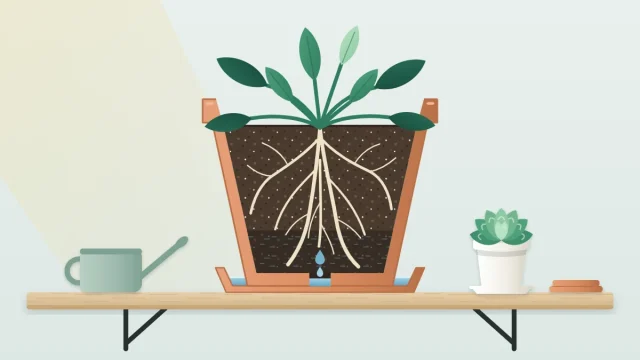
- Water running straight through and out the bottom, because there is more root than mix left to hold it.
- A plant that has become top-heavy and tips easily.
Active growth is generally the easier time, since the plant extends new roots into fresh mix quickly. When that is depends on the plant, your climate and conditions indoors.
Set up an indoor workspace
Choose the containment to match the size of the plant:
- A potting tray. A wide tray with raised sides is ideal for small and mid-sized pots on a table.
- A shallow storage tub. The kind that slides under a bed works just as well and has higher walls.
- A sheet on the floor or table. An old bedsheet or a plastic sheet catches everything and can be folded inward and carried away afterward.
- The bathtub or shower tray. For big plants this is often the best place in the home: it is waterproof and easy to rinse. Put a strainer over the drain so mix does not go down it.
Then deal with dust. Dry potting mix is light and floats, so dampen it slightly before you start: add a little water to the bag or tub and stir it through until the mix is barely moist and no longer dusty.
Finally, put everything within reach before you touch the plant: the new pot, the mix, a scoop, a waste bag, a cloth and a saucer.
Tip
Repot when the plant is slightly moist, not freshly soaked and not bone dry. The root ball slides out more easily and holds together.
Choose the new pot and mix
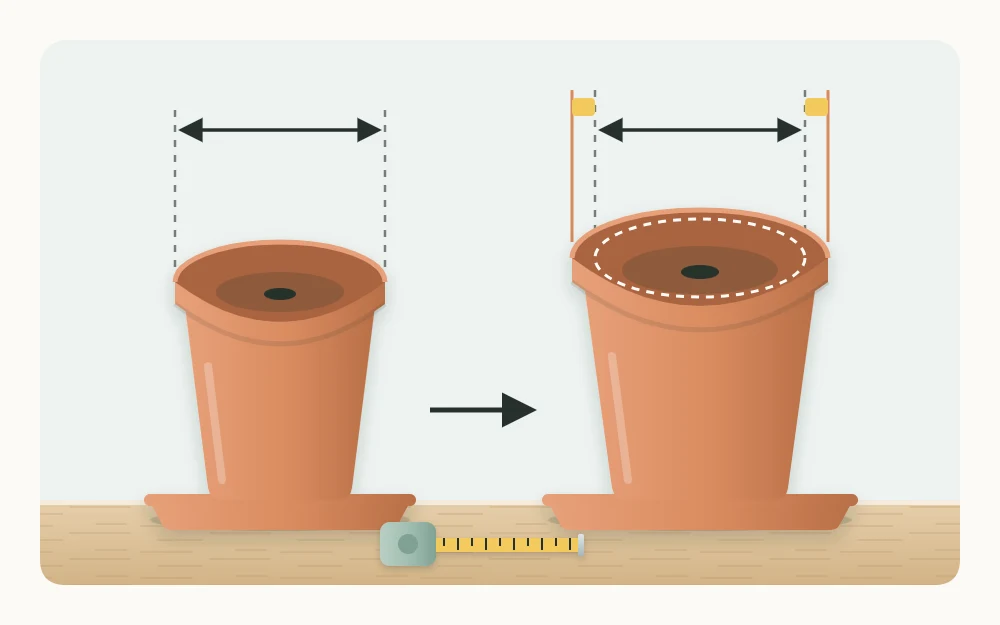
Go one size up: roughly 1 to 2 in (2.5 to 5 cm) wider than the current pot, with drainage holes. That figure is a starting point that depends on pot size and plant type; a large floor plant may take a slightly bigger step. A pot that is much too large holds more wet mix than the roots can use, and it stays wet for longer.
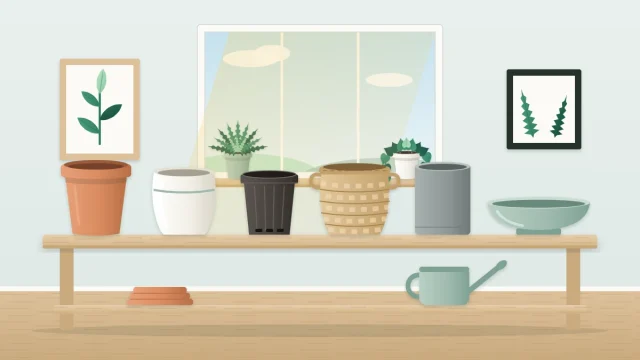
Material, shape and weight all affect how a pot behaves on a shelf; the guide to choosing indoor plant containers covers those choices. For what goes inside, see the guide to potting media for indoor gardens.
Repot step by step
- Prepare the new pot. Put a layer of fresh mix in the bottom, deep enough that the plant will sit at the right height.
- Slide the plant out. Tip the pot on its side over the tray, support the base of the stems with one hand and ease the pot off. Squeeze a flexible nursery pot to loosen it, or run a blunt knife around the inside of a rigid one. Do not pull on the stems.
- Loosen circling roots gently. Tease the outer roots apart with your fingers so they point outward instead of round and round. Leave the center of the root ball intact.
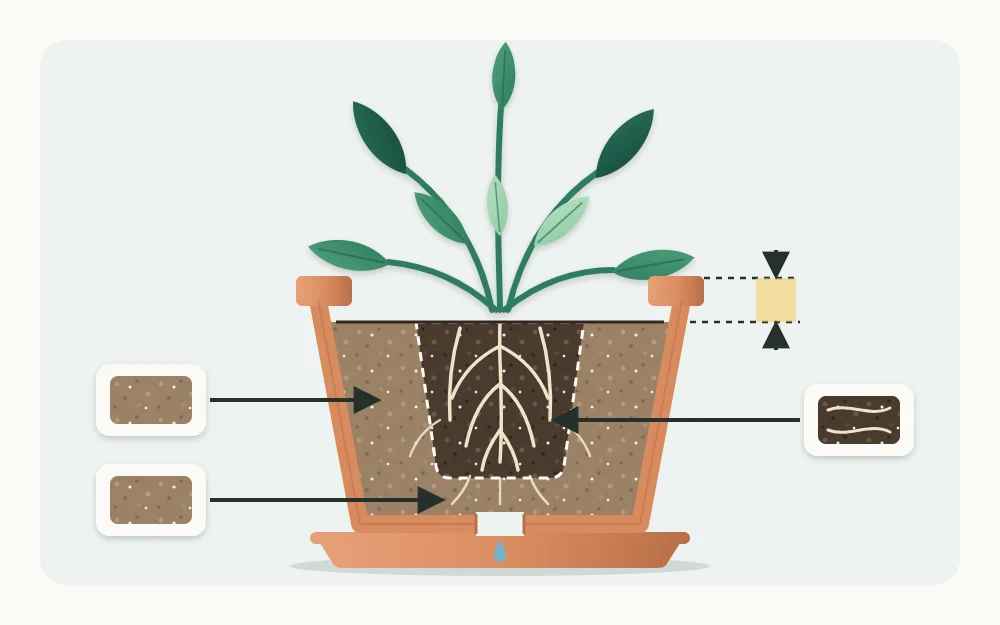
- Set it at the same depth as before. The top of the root ball should sit where it sat in the old pot, not buried deeper. Add or remove mix underneath until it does.
- Fill and firm lightly. Scoop mix around the sides and press it down gently with your fingertips to close large air pockets. Do not pack it hard.
- Leave a gap below the rim. A space of about 0.5 to 1 in (1 to 2.5 cm), more on large pots, gives water somewhere to sit while it soaks in.
- Water in and drain. Water over a sink or a tray until it runs from the drainage holes, then let the pot drain fully before returning it to its saucer.
For more detail on technique, see University of Maryland Extension’s page on potting and repotting indoor plants and Penn State Extension’s article on repotting houseplants.
Cleanup and what to do with old mix
Clean from the outside in. Wipe the outside of the new pot, fold the sheet toward its center or carry the tray to the bin, and tip the debris into the waste bag. Vacuum or sweep stray mix while it is dry; wiping wet mix spreads it.
Old, spent mix that came off the roots goes into household waste or compost, according to what your local collection accepts. It is generally better not to reuse it for another indoor plant. Wash the empty pot before storing it; the guide to cleaning an indoor growing area explains how.
Aftercare for the first week or so
A repotted plant has disturbed roots and takes up water less efficiently for a while. Keep it out of harsh direct sun for a week or so, in bright indirect light if that is what it had before, then return it to its usual place.
Check the mix before watering again. Fresh mix in a larger pot dries at a different rate from the old, root-filled one, so go by how it feels, not by habit. Hold off on fertilizer until the plant is clearly growing again, then apply it during active growth, according to the product label.
Heavy plants: topdressing instead
Some plants are simply too large to lift out indoors. For these, topdressing is a reasonable alternative. Scrape away the top layer of old mix with a scoop or your fingers, taking care not to tear the roots near the surface, and replace it with fresh mix to the same level.
Good to know
A large pot of wet potting mix is heavy. Get help to move it, and if it stands on a plant caddy or a shelf, check that product’s stated load rating first.
Frequently asked questions
How do I know when a houseplant needs repotting?
Look at the roots and the way water behaves. Roots circling the inside of the pot or growing through the drainage holes, water that runs straight through, and a plant that has become top-heavy all suggest it has outgrown its container. A plant showing none of these can usually stay put.
How much bigger should the new pot be?
As a starting point, choose a pot roughly 1 to 2 inches (2.5 to 5 cm) wider than the current one, with drainage holes. The right step depends on pot size and plant type. A pot that is far too large holds more wet mix than the roots can use.
Where can I repot a large plant in an apartment?
The bathtub or shower tray is often the most practical place, because it is waterproof and easy to rinse. Cover the drain with a strainer and lift out solids by hand before rinsing. If the plant is too heavy to lift out of its pot, topdressing with fresh mix is an alternative.